PicotCanvas
tribute to Jean-Claude Picot into an open source project based on rpi pico you are going to love
Demo
here.
Setup Guide
What You Need
- Raspberry Pi Pico W (or Pico 2W for better performance)
- USB cable
- Computer with Thonny IDE installed (download here)
- MicroPython firmware for Pico W
Step 1: Prepare the Pico
- Download the MicroPython UF2 file for Raspberry Pi Pico W from MicroPython Downloads.
- Plug in your Pico while holding the BOOTSEL button.
- The Pico will appear as a USB drive.
- Drag and drop the UF2 file onto it.
- The board will reboot into MicroPython mode.

Step 2: Install Thonny and Connect
- Install Thonny IDE.
- Open Thonny and go to Tools → Options → Interpreter.
- Select MicroPython (Raspberry Pi Pico) and choose the correct COM port.
- Test the connection by running:
print("Hello from Pico!")(optional) You might want to disable the
interrupt on connect. Just configure the interpreter on the bottom down com-port.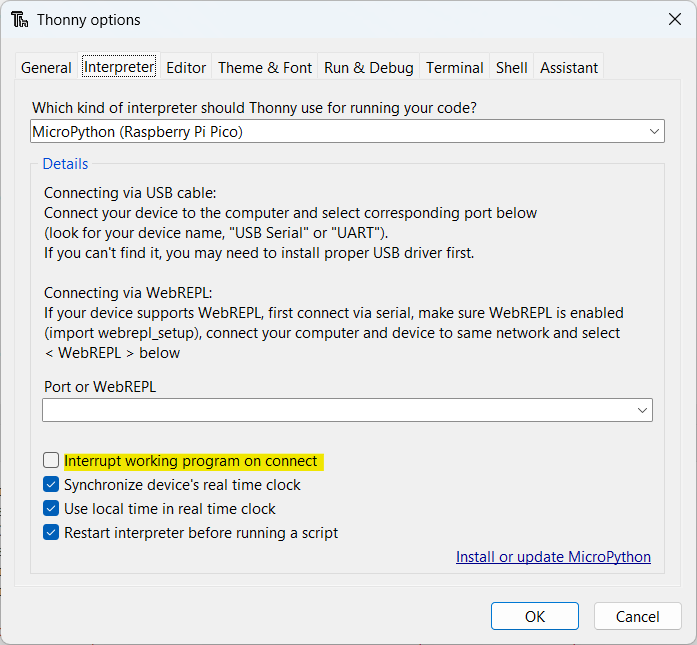
Step 3: Get PicotCanvas Code
- Clone or download the PicotCanvas GitHub repository.
- In Thonny, open the project folder.
- Copy all files to the Pico’s storage using Device → Upload to /.
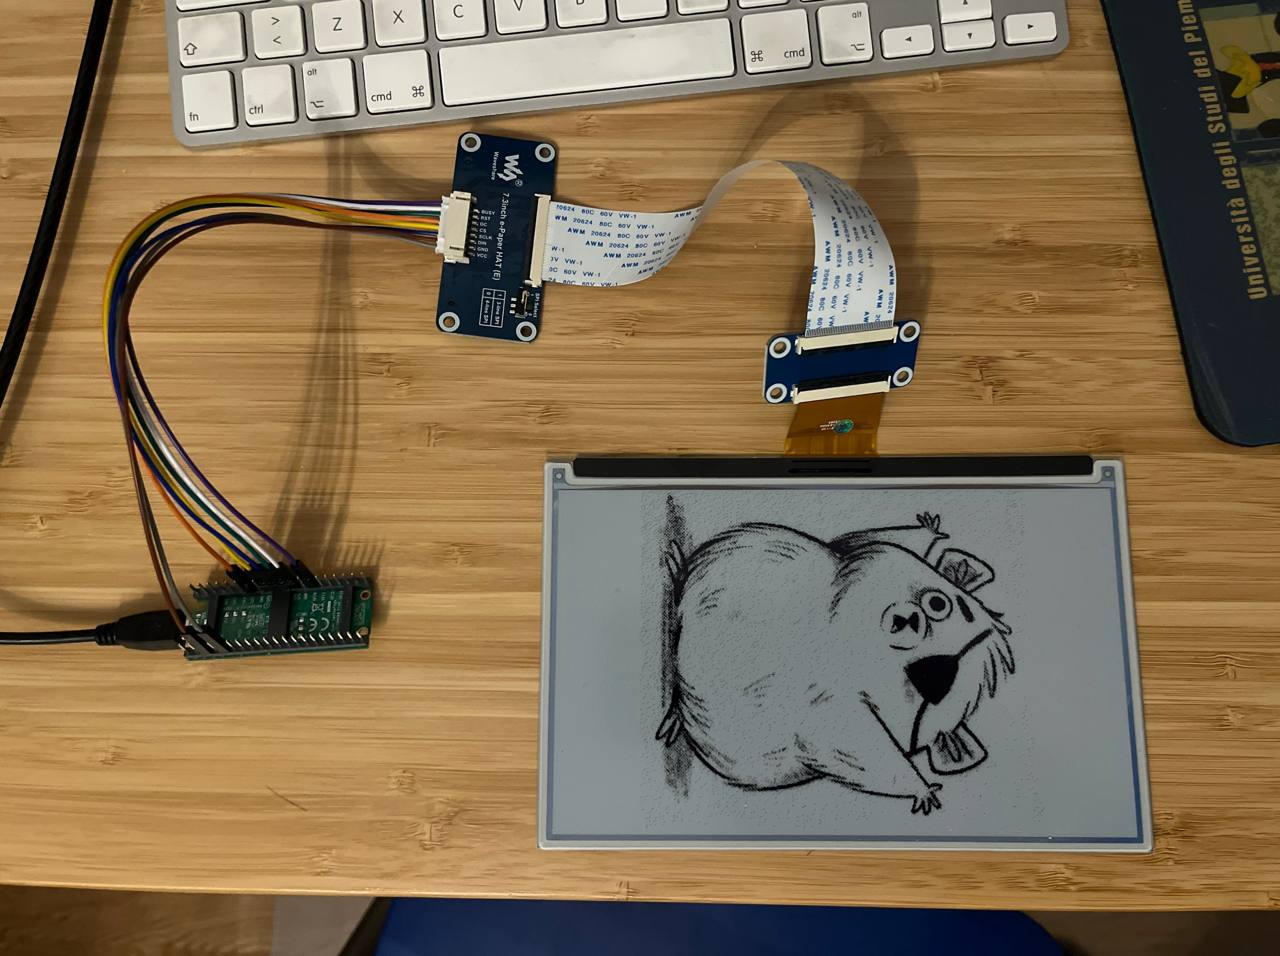
Step 4: Wiring the display
for this project I used the Waveshare E-Ink-Color-Display, 7.3 inch, 800x480, Spectra 6:
It is normally delivered with a driver board and a cable ready-to-use.

| e‐Paper Pin | Description | Pico Pin for SPI0 Example |
|---|---|---|
| VCC | 3.3V power | 3V3 (e.g. Pin 36) |
| GND | Ground | GND (e.g. Pin 38) |
| DIN | MOSI (SPI TX) | SPI0 TX / GP7 (Pin 10) |
| CLK | SCLK (SPI CLK) | SPI0 SCK / GP6 (Pin 9) |
| CS | SPI CS | SPI0 CSn / GP5 (Pin 7) |
| DC | Data/Command | GP8 (Pin 11) |
| RST | Reset | SPI0 RST / GP9 (Pin 12) |
| BUSY | Busy signal | GP10 (Pin 14) |
The wiring should looks as follow:
Step 5: First Boot & Access Point
- Reboot the Pico.
- It will create a Wi-Fi Access Point named
RP2-AP. - Connect your computer or phone to this AP.
- Open a browser and visit: http://picotcanvas.local/wlan/
- Enter your Wi-Fi credentials and save.
Step 6: Configure Your Frame
- Reboot the Pico again.
- Connect to your normal Wi-Fi.
- after the Pico stop blinking it is connected to the Wi-Fi.
- Visit: http://picotcanvas.local/
Step 7: Enjoy Your Digital Frame
- Upload images or set up dynamic content.
- Explore additional features in the web interface.
- Demo here.
Troubleshooting Tips
If picotcanvas.local doesn’t resolve, use the Pico’s IP address (check your router). Ensure your firewall allows local network access. If the board doesn’t start the AP, check power and firmware. After booting the board blinks until connected to Wi-Fi. If no connect is available it will starts as access point.